Introduction
If you want original manicures and dream of transforming your nails into real works of art: it’s decided. You succumb to the trend of nail art! You will need patience, skill, and essential accessories to succeed in your first nail art!
Nail Art: The Basic Accessories
To make homemade nail art, bring the following essential accessories for any manicure:
A good base for nails. It will protect your nails from the layers of varnish (often multiple and very colourful in nail art) that you will apply.
Don’t forget the top coat, the last layer of varnish essential to make your manicure last! The top coat. And also, bases are also critical to gel or acrylic manicures.
You will also need a good stock of coloured varnish to make the patterns of your choice. Did you know that not all varnishes lend themselves to nail art? For example, suppose you want to make stamping nail art (apply the varnish with a tampon system).
In that case, it will be wise to invest in some nail polishes specifically for stamping: thicker, their texture is primarily worked to adhere to the tampon and guarantee a more intense colour on the nail. Varnish red, pink, black glittery, iridescent. Everything is allowed for your beauty!
The accessory kit to have beautiful nails or make a French manicure: polisher, nail file, cuticle regrowth, nail clippers, nail scissors, etc.
Essential Nail Art Accessories
The dotting tool is one of the favourite accessories of beginners in nail art: this thin metal rod finished with a ball, allows you to make round points on your nails. It an essential to make pretty drawings on the nails!
The stripping tape is also an essential accessory for nail art addicts. It is presented as a fragile adhesive tape that exists in multiple colours and will allow you to make geometric patterns.
You can either position it on the nail to delimit the area to be varnished or use it as an integral part of your manicure – it will then be enough to fix it with a layer of top coat!
To succeed in your nail art, do not hesitate to decorate it with “ready-to-use” decorations:
- Stickers
- Rhinestone
- SequinSmall marbles,
- Studs (small metal elements)
These decoration accessories are perfect for beginners: easy to handle, they are self-adhesive or sit on the freshly applied varnish and will remain in place when it has dried thanks to the top coat. These small accessories will undoubtedly bring a touch of originality to your nail art!
Accessories For More Complex Nail Arts
The skilful will opt for an ultra-fine nail art brush, preferably made of synthetic bristles, to draw directly freehand on the nail—brush kits for nail art containing fine brushes, wider brushes, a liner, and a fan brush.
The stamp and stamping plates will allow you to create intricate patterns instantly. They work on the principle of a tampon: you pass the tampon on the patterned plate you will have previously covered with varnish, then apply it to your nail! This technique offers you an infinite number of possibilities to create beautiful renderings.
Unique pigments to bring effects: for an even more modern rendering, it is possible to get certain powders added on top of your plain varnish and give it a sophisticated rendering: reflections, and metallic effect. And also, an unstoppable technique for a manicure worthy of a beauty salon!
The Latest Nail Art Trends To Give You Ideas
Now that you are equipped, here is what to show your nail art equipment kit by reproducing the most trendy manicures of the moment:
Pearl Nail Art
Ready for a mermaid look? Nothing could be more straightforward with this new fashion that puts pearls in the spotlight. Opt for a delicate and ultra-feminine effect by adding a few iridescent pearls to your nude or pale pink varnish.
Arrange more or less large pearls in the desired places: small and few for a refined effect, more voluminous and dense for a whimsical look. Adapt to your personality! Keep this in mind. However, that the more significant these pearls are, the faster they are likely to peel off and be bulky.
Multicoloured Nails
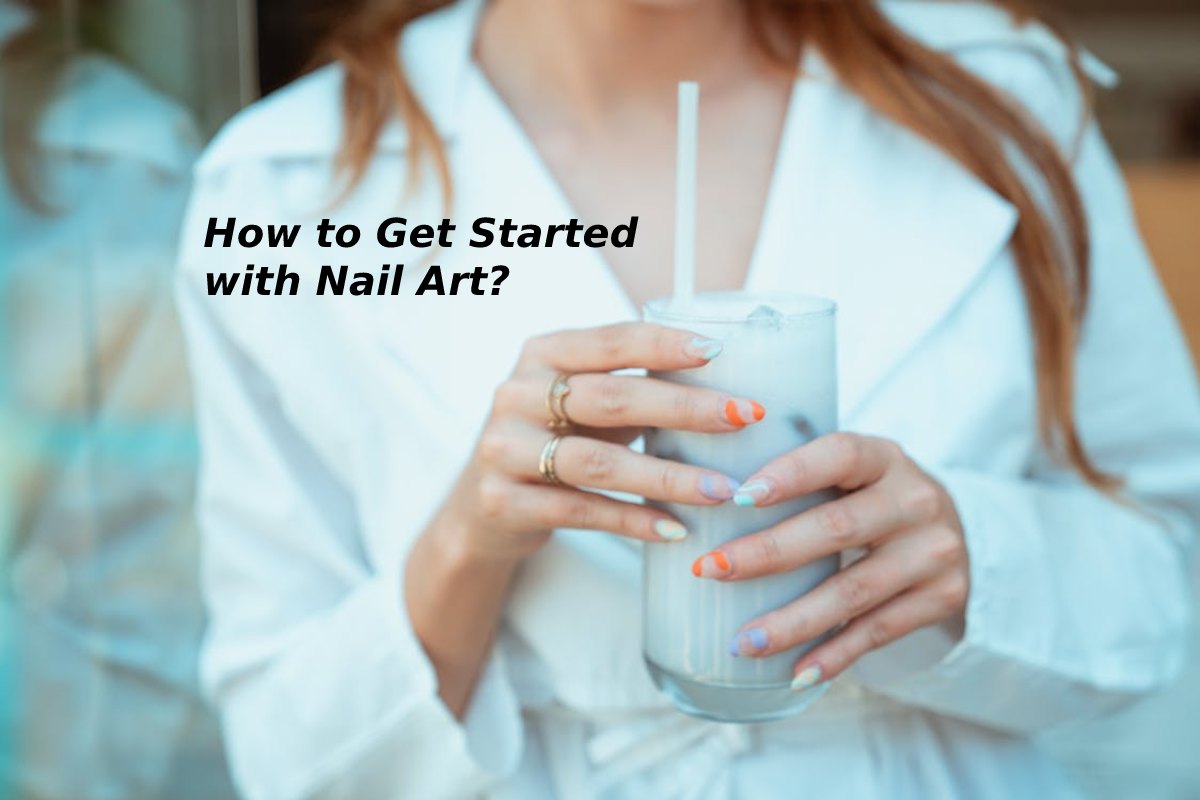
We all did it when we were younger: put a different colour on each finger, hoping to have a lovely harmonious shade. With more or less success! Fans of rainbow nails will be thrilled: multicoloured nails are coming back in force.
However, we must maintain a sure consistency between the colours chosen: we can opt for the “gradient” effect with the same shade declined in several shades or for totally different colours that match together. Such as pastel colours. Adding glitter or glitter is not recommended to counter the effect of a “little girl manicure”.
Patterned Nails
You like the discreet, subtle, nude tones. Move on to the next idea! For now, it is the colourful, colourful nails that everyone notices that we highlight. This year, you can allow yourself everything: wild animal motifs (leopards, snakes, zebras.) if you feel in an exotic mood, small flower patterns if you are looking for a more discreet spring rendering. Christmas decorations or the traditional plumetis. For a semi-permanent result, choose gel or acrylic varnishes.
The French Manicure
True, everyone knows her, but everyone loves her. The French are a safe bet if you want a natural, professional, neat and sophisticated rendering. For a boilerplate effect, the end of your nail can be underlined with a line of white varnish.
If you are looking for a little more fantasy without falling into the flashy, know that French can be declined in several colours. For even more originality. You can also play on the shapes: from the traditional square to the rounded square through the stiletto.

